
First, purchase your foam wreath and yarn of your choice. I chose green for St Patricks Day and it goes great all Spring...
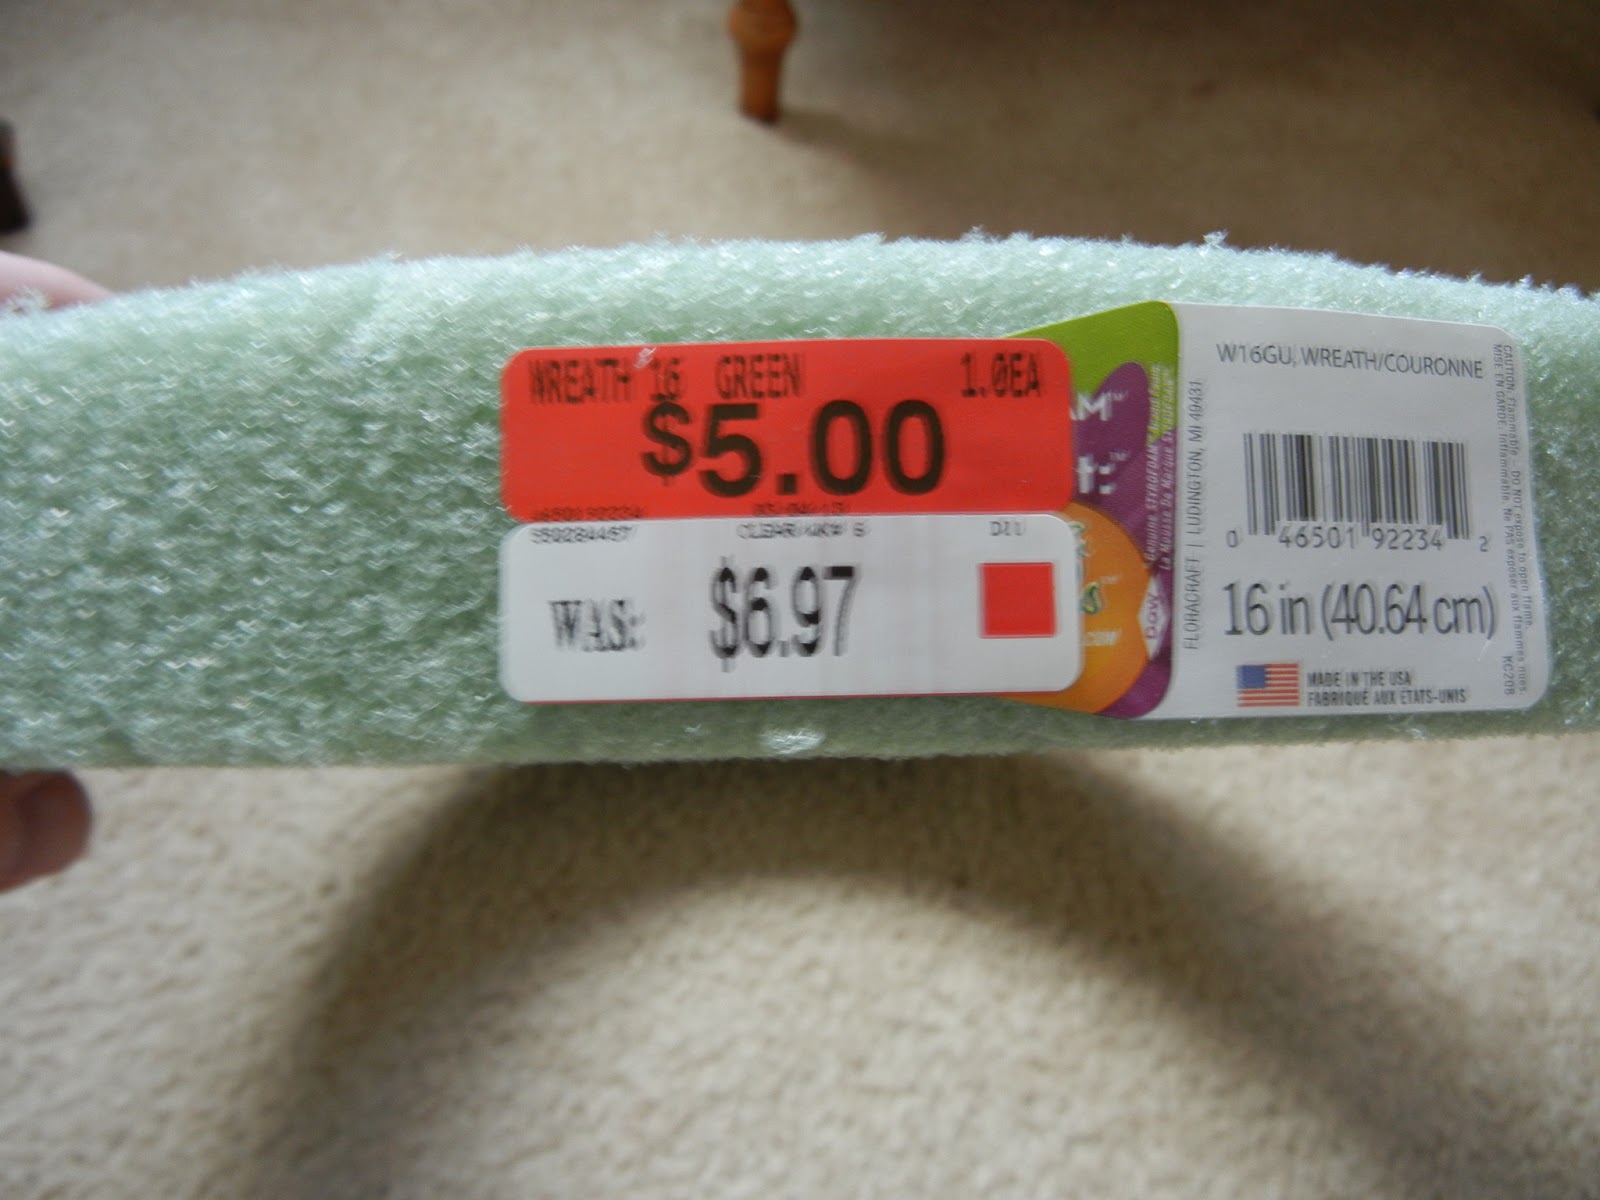
Note the price tag. $1.97 off of the original price. I love a good deal...

Tie a knot in the back of your wreath. Wrap and wrap and wrap the yarn around the wreath. I went two times around to make sure I covered all of the foam up. Tie another knot in the back.

All done wrapping. It's tedious work...

This is what is left of the yarn.

I had some fabric left from a drop cloth (I love drop cloth fabric!) and I cut out triangles to the size I wanted and wrote 'Welcome' on it with a Sharpie. You can make your flag say what you want. 'Happy Spring', 'Hello', 'Good By'. the choices are endless...

I glued the triangles onto some skinny cream colored yarn with regular Elmer's Glue stick. Worked like a charm.

I took a long piece of fabric and cut a 1 inch strip (I don't know the exact length, but the longer the length the bigger the flower. Iron it in half.

Twist it up a few times and put a dot of hot glue so it sticks in place.

Twist it every turn and add another dot of glue.

When you get to the end of the fabric, leave a little tail.

Glob some hot glue on the back of your flower.

Open up the tail and press it into the hot glue.

I used some cute little clothes pins to hang the 'welcome' sign up with. Hot glue the clothes pins in place. Hot glue the flowers in place. TaDaaaaaa! You now have a pretty Spring wreath!
What a cute wreath! I love the little flowers and the mini bunting. Adorable! ~Angela~
ReplyDeleteThank you, Angela! It was fun to make. I am always looking for something to add to the front door :)
ReplyDelete